We have been in our house for a little over three years now. As much as I wish our house was completely decorated like a gorgeous model home, it just isn’t. I have never been very good at decorating and I have a really hard time pulling spaces together. And to make things even more difficult for me, we have really huge walls!
After browsing Pinterest for hours and hours, I decided a gallery wall would probably be the easiest way to fill our walls and make our house feel a little more complete. So, today I want to show you how to fill large wall space with a beautiful gallery wall.
this post contains affiliate links.
HOW TO FILL LARGE WALL SPACE WITH A BEAUTIFUL GALLERY WALL
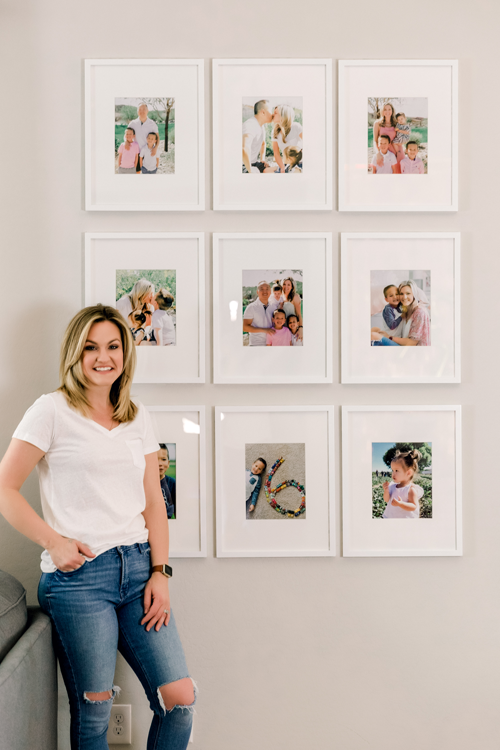
Picture Frames | White Tee Shirt | Jeans
DECIDE ON FRAMES AND ARRANGEMENT
The first thing we needed to do was figure out how many frames we wanted on the wall. I already knew I wanted to use these large 14″ x 18″ frames but I wasn’t sure if we should hang 2 rows of 3 frames or 3 rows of 3 frames.
As I mentioned before, I am not the best decorator. I also have a very hard time visualizing how the completed project will look especially when the space is huge and completely blank to begin with.
To help us decide on the arrangement, we laid the frames on the floor and placed them exactly how we wanted them spaced on the wall. I first measured the frames arranged in 2 rows of 3. And then I added another row of frames and measured again for 3 rows of 3. Then, using those measurements, I put painters tape on the wall, making an outline of the frames to see how much wall space they’d cover.
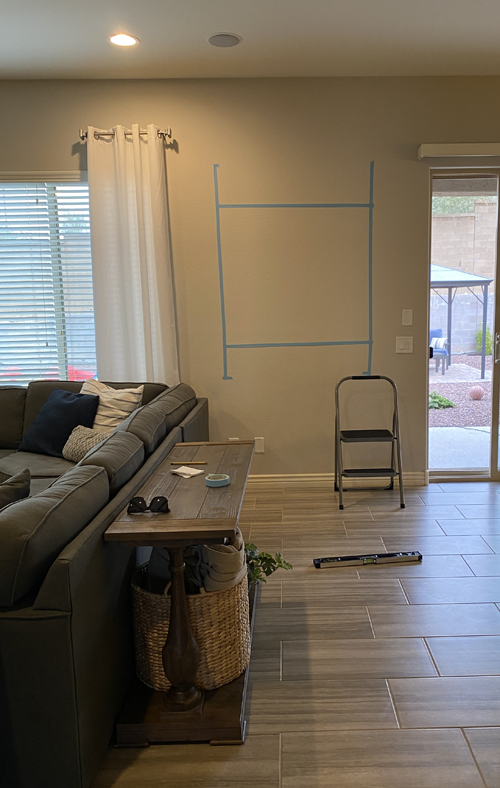
The very top of the blue painter’s tape to the very bottom was the space for 3 rows of 3 frames. And the smaller square in the middle was the space for 2 rows of 3 frames. This step might seem silly. But for me, it really helped me see what it would look like and ultimately decide on the arrangement. If you can visualize the frames on the wall without marking off the space, give yourself a high-five and skip this step.
START HAMMERING
Once we decided on the arrangement and spacing, Abe started hammering. Working with one frame at a time, Abe measured where the metal hangers were on the back of the frame and then used that measurement to figure out where the nails needed to go in the wall. Once he got one frame on the wall, he moved over 1″ (the spacing between each frame that we had decided on in step one) and hammered in the next two nails. Going frame by frame helped us stay level and evenly spaced.
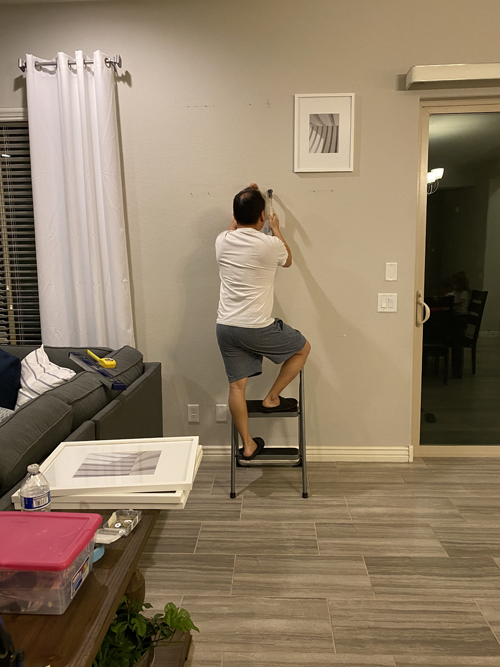
I have to be honest. Getting the frames on the wall perfectly level and evenly spaced was really time-consuming! I really, really recommend NOT using the metal sawtooth hangers that are attached to the frames to hang the frames on the wall. This made getting everything perfectly evenly spaced extremely frustrating! We had to be super precise with where we placed each nail. And when we took the frames off the wall, we had to be sure we hung them back up on the same exact little tooth on the hook or the spacing was completely off.
If the frames you’re using have a lip at the top, use that! Hammer two nails into the wall, at the top corners of each frame, and hang the lip of the frame on the nails. It’s much easier to keep the frame’s level and adjust the spacing when you hang the frames this way. And you will save yourself so much time.
If the frames you’re using don’t have a large enough lip, use picture frame wire. Our friend from church is an artist and he said he only uses picture frame wire to hang his art because it’s much easier to adjust. I wish I had asked for his expert opinion before we started! Ha!
ORDER YOUR PRINTS
There are so many options for printing your photos. I have heard really great things about Mpix so I decided to go with them.
The upload process is super simple and affordable. I decided to print the photos in color because the photos we chose all had a similar feel to them. I knew I wanted to bring in some color on this wall so I am super thankful it worked out with the pictures we have. If you choose photos that vary in color, you may want to have them printed in black and white to keep the gallery wall cohesive.
Once the photos arrived, I wiped down the frames, popped the photos in, and hung the frames back on the wall.
Then, I sat on the floor and stared at the beautiful photos for a few minutes.
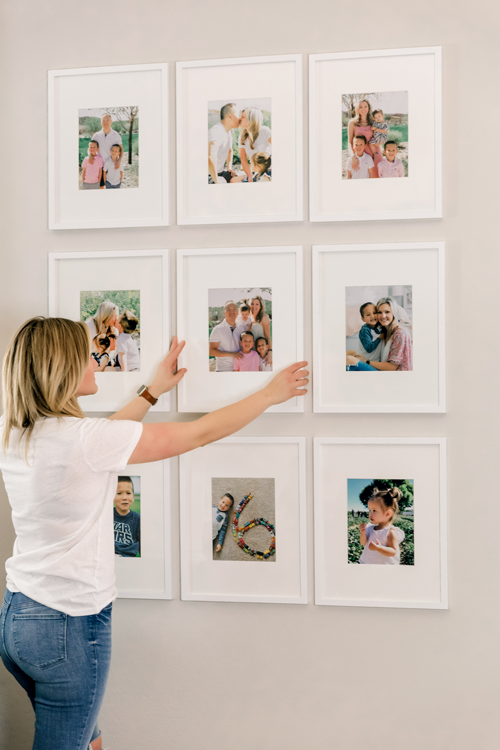
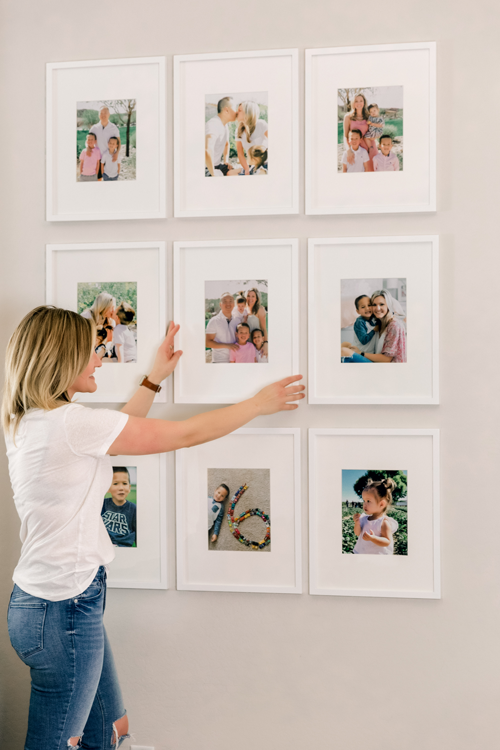
My favorite reaction to the gallery wall came from the kids. They were so excited to see they each had their own photo up on the wall. Their excitement made me so happy!
Initially, I was really unsure about this project. And yes, it did take a lot more work than I imagined. But it turned out so beautifully that all the hard work and mistakes (and extra holes in the wall and yelling at my husband) were totally worth it.
I love having this space in our home to display some of our most favorite family moments. And I feel really proud that Abe and I completed this beautiful gallery wall together. I am looking forward to seeing how the photos change as our family experiences new adventures together.
I really hope this post was helpful. And if you are looking for a way to fill up space in your house, give this a try!
SHOP THE POST
Photos: Megan Higgins Photography




omg! What a simple but elegant way to make blank walls shine! I will totally be trying this, thank you!
Great post. I really need to display more of my favourite memories around the house.
This is such a lovely way to decorate your space and give it a personal touch!
Tracy
https://www.findyourdazzle.com