
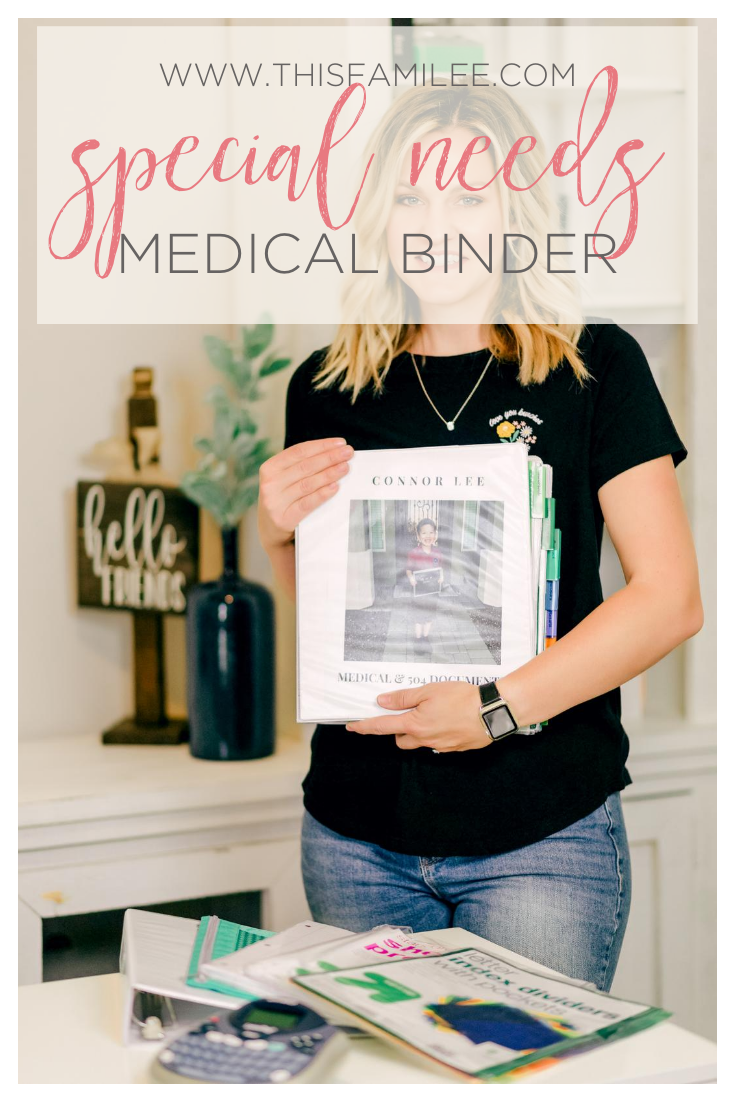
Having a child with special needs comes with a lot of unknowns. One thing you can almost always count on though- a lot of specialists, a lot of doctor’s appointments, and a lot of paperwork! If you are in a similar position as we are with Connor, the best thing you can do to manage all of this is to organize all of your child’s medical information into one spot. Today I am going to show you how to make a medical binder for your special needs child.
this post contains affiliate links.
HOW TO MAKE A MEDICAL BINDER FOR YOUR SPECIAL NEEDS CHILD
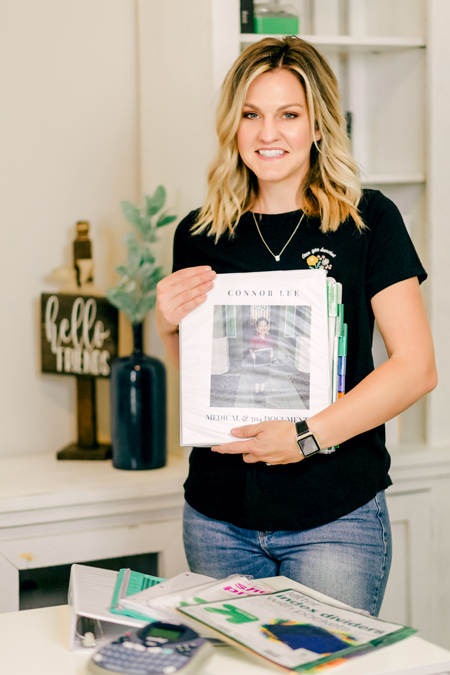
When Connor first started seeing a behavioral specialist and then eventually a neurologist, neurosurgeon, and several other specialists, I couldn’t believe the amount of paperwork we would leave each doctor visit with. Also, it never failed that we would be at an appointment with one specialist and I would be asked for a copy of a report from a test ordered by a different specialist. Trying to keep track in my head of all of the reports, important dates, progress notes, lab values, and test results just wasn’t working.
It wasn’t until I needed to apply for our state’s developmental disability division that I started to feel really overwhelmed. They requested just about every report from any provider we had ever seen. Ever. Could you imagine trying to track down all of the information?! It was then that I knew I needed to come up with a system to have all of Connor’s medical information in one place. So this is how I created a medical binder for Connor.
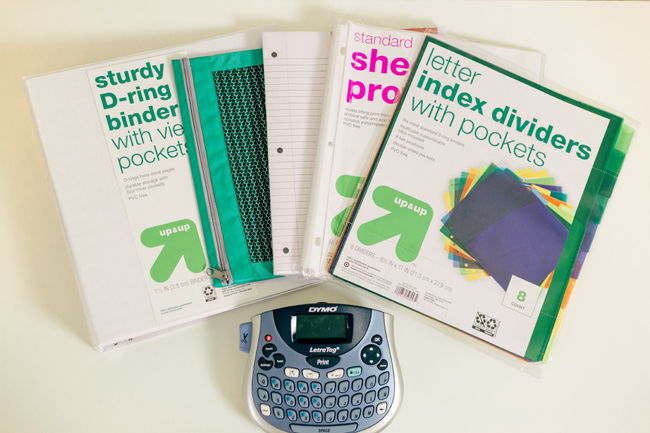
Supplies for making a medical binder:
- Binder
- Dividers with Pockets
- Sheet Protectors
- Zippered Pencil Pouch
- Pens and Pencils
- Business Card Holder
- Lined Paper
- Label Maker

Assembling your binder:
Start with a big 3 ring binder. For our first binder, I bought a small 5″ x 8″ 3 ring binder. If your child doesn’t have a ton of needs, this size might work for you. For us and our son’s needs, we outgrew the small binder so fast! I recommend starting out with a full size, 2″ 3 ring binder. You’ll be amazed at how quickly it fills up.
Put in your Zippered Pencil Pouch and fill it with a couple of pens and pencils. I also keep all of Connor’s MRI discs in here. His neurosurgeon can pull up his MRIs on his computer but there have been times when they didn’t have it in the system or the MRI was done at a different facility. Now I just ask for a copy of the MRI and I keep it in my binder. I also keep a few tissues in here because…well, because I am a crier. Also, depending on your child, throw in some stickers and markers. When we go to the doctor with Audrey, I let her color and put stickers on the paper covering the exam table. I wish I thought of this when Connor was little.
The next item to add to your binder is the Business Card Holder. This is SO helpful to keep all of your child’s doctors and specialists contact information handy. You know you’ll need it and other specialists will ask you for it often.
After the business card holder, I have a small stack of lined paper. Use this to write down any questions you have before a visit or to write down specific information during the visit. If you have antsy kids with you, they can use it to draw on or play tic tac toe.
Use the first couple of pages in your binder to keep the most requested information. This will be unique to your child so adjust as you need to. The first sheet of Connor’s binder has a timeline of his developmental history and his story. A lot of specialists ask the same questions about his development, from the beginning. It’s hard to keep track of it all in my head so I typed up a document with all of this important information including when he reached developmental milestones as an infant and toddler and when we started noticing things were off.
The next document in our binder is a list of Connor’s current medication, with dosage and our pharmacy information, on the top half. On the bottom half, I included hospitalizations, surgeries, and other important dates. Put both of these documents in sheet protectors and update them as needed.
After those documents, put in your dividers with pockets. Again, your binder will look different than mine based on your child’s specific needs so divide your binder however works best for you. Use your label maker to label each divider. In my binder I have sections for each specialty Connor has been evaluated by. I also have a “reports & results” section as well as a place for his school 504 plan & related information. I prefer the dividers with pockets to help organize any loose papers. And I have noticed they hold up better than the paper dividers. You’ll be flipping through your binder a lot so having heavy-duty dividers helps your binder stay organized and last longer.
Behind each divider, add several sheet protectors. You are going to use the sheet protectors to hold all of your reports, notes, lab results, letters from providers, every single piece of paper you put in your binder will go in a sheet protector. Then, the most important thing you will do in your binder, use your label maker to label the sheet protector with the name of the document inside. It may seem silly to use sheet protectors instead of just putting the document into the binder itself. And it may seem even more silly to label the sheet protector with the name of the report when you can clearly see which report it is. But please, do not skip this part! These two steps are the most important steps to making a medical binder, in my opinion. And there’s a couple of reasons for this.
- The sheet protectors will keep your documents safe and less likely to rip or fall out of the binder. You know it can sometimes take a lot of work to get a report from a specialist. Or, maybe your child’s physician wrote a note for the insurance company. Whatever it is, the paperwork you put in your binder is important! You cannot risk losing it or accidentally destroying it.
- Labeling the sheet protectors with the name of the document that belongs in each specific sheet protector helps you keep track of that very important document. For example, one time we were at a well check for Connor with his pediatrician. He recently had a sleep study done that was ordered by his neurologist. His pediatrician asked me if I had a copy of the report. I had my binder with me so of course I did. The pediatrician gave the report to her medical assistant to scan into his chart while she continued on with his appointment. We finished the appointment and I wrangled all three kids out of the office and to the car. The next time I opened the binder, I saw there was an empty sheet protector with the label “sleep study”. Shoot! I realized I didn’t get the report back from the medical assistant before we left the pediatrician’s office that day. If the sheet protector hadn’t been labeled, who knows if I would have remembered which report was missing or where I had left it. But, because the sheet protector was labeled, I knew exactly which report was supposed to be in there which then reminded me where I had left it. I was able to call the pediatrician’s office and get them to send me a copy of the report asap.
Another quick tip about the documents in your binder. If you have a report in your binder that you noticed you are being asked for over and over, maybe make a couple of extra copies.
Putting this medical binder together was a bit time consuming at first. And it does require some organization and updating from time to time. But I promise you, next time you’re asked for a specific medical report or contact information for a specialist, you will be so thankful you took the time to do this. There is a lot to juggle with our special kids and trying to remember everything is just impossible. Save yourself the headache and make a binder. Having all of the important medical information in one place makes the already overwhelming appointments for our special kids a little bit easier.
I really hope this post is helpful and taught you how to make a medical binder for your special needs child. To see a better look at how I put Connor’s binder together, head over to my instagram stories highlights.
SHOP THE POST


Love the binder tip about labeling the sheet protectors! I am just setting my binder up and that was the most practical tip I’ve seen!
Yay! I am so happy to hear that!! It has been so helpful at keeping track of the important notes we keep in our binder and share with different specialists.